Old N Nasty, like many of our club members racing style
Old N Nasty racing in Southern California
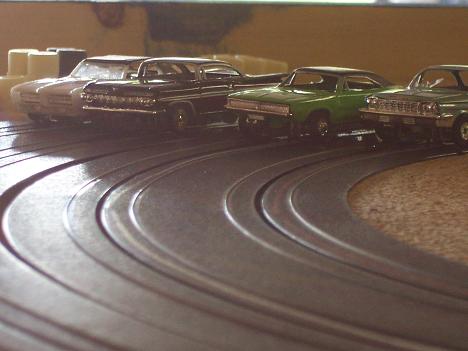
Old N Nasties round the corner behind the bleachers at IEHO Raceway
Check back later for JL chassis/body tuning tips for Old N Nasty competition.
The JL chassis is a very snappy or very doggish chassis, depending on which combination of top plate and chassis you put together, and which series you draw from. The latest #2 chassis I've worked with, for example have all been very twisted to the point where the left front tire doesn't even touch the track. I've not had very consistent results with the #1 chassis in most of the series. But there are always exceptions. It just depends on the top plate you match up with the chassis and how true the gears are on the armature shafts and the drive shaft. The straighter, the better. You can always use a straight set of gears from a dog top plate on your top plate with sloppy gears mounted on their shaft. Use a puller and a good press to get the gears on true. Listen to a few top plates on every chassis that you set up. Try as many top plates as you can get until you find the one that spins the most freely and runs on (coasts) the longest. If nothing sounds good in one chassis, then switch to another. Keep track of the number near the crown gear on the top side of the chassis. You may want to track this information to help determine the best combinations of top plates and chassis.
You can eliminate the up and down play in the drive shaft with a proper press. Just avoid creating a binding situation between the driven and pinion gears.
I have had luck using a larger front tire on the left side of some of the twisted #2 chassis I've run across. I don't necessarily recommend doing this, but if you don't have alot of chassis to draw from, it may be your only option. I've had the luxury of being able to purchase a number of JL chassis over the past few years. I want this information to benefit the guys with even the smallest budgets. I won't try to take out all of the guess work. That wouldn't be any fun, now would it, to just give you the best formulas/combinations on a big chart? I think not. Keep in mind I'll invest hours to accumulate the information to create this page. Stay posted as the details will be piece mealed and your knowledge will grow.
I'll also address how to prep an injection molded body for optimal handling in the Old N Nasty series. Most of this will translate over to the resin bodies which we run in the fray series as well. I've competed in 2 frays now. I've run in the Southern California series that Rocky German put together a little over 3 years ago. My tjet racing started as a child running an 'O' scale chassis mounted with a '57 Chevy body on a figure 8 track in the basement of my home in Lansing, MI, where I grew up. My first HO scale track came with the Wild One Camaro and Cougar and had the Monza banked turns. That's what I cut my tjetting teeth on. I'm glad you could stop in to share some information. --Mic
Here's a clear view of the different sized front tires
I used a couple of the free wheeling hubs from some stock Tuff Ones front ends and mounted them on a hollow axle with pins securing them. There are p/u shoe springs and .003 brass washers filling up the extra space on the 1 1/4" wide axle. It runs very true with the left front tire slightly larger than the right to compensate for a badly twisted #2 chassis. The larger tire measures .385 and the smaller tire is .350. I also beveled both tires to get a wider footprint down on the track. This helps keep the chassis planted in the turns. I'll cut the fronts down further after I mount a set of JW's .188 Tuff One rear hubs with .355 diameter silicones that have been trued on the hubs. The .225 hubs are just for chassis set up as I'm waiting on an order for more of JW's rear hubs.
Click on the picture for more
